Preface
I intended this article (or series of articles) to be a digital journal of my blog making process, so do expect what you’re going to read to be opinionated, lengthy, and conversational. No promise but I will try to include tl;dr’s and bullet points for those only interested in the guide and method.
Inspiration
My initial plan this year was to make a personal site for contact information and project listings and whatnot. I have been into jotting down my thoughts and experiences, whether it’s random notes on my phone or diving into online discussions, but never arranged them into proper writings. I have been into UI/UX design and frontend development, mostly for slides and demos for school projects, but never put those skills to good use. If nothing changed, a plain personal site would be completed anytime soonTM.
It was not until coming across a respectable senior of mine’s blog that I decided to dabble in this blogging space. The main focus of the site (for now) would be the blog page. Who knows if my interest will shift to a photo gallery or interactive embedded apps in the future :D
Finding a template
A quick Google search for “personal blog tech stack” would yield some combinations of *insert a modern JS framework*, Tailwind CSS, and static site hosting on either GitHub Pages or Vercel. Hence my first stop was Vercel’s Find your Template site, I’m a sane person and would prefer not to build this from the ground up. What I found there did not disappoint: the template that allegedly my senior adopted for his blog, looking legit and high-quality. We’re off to a great start!
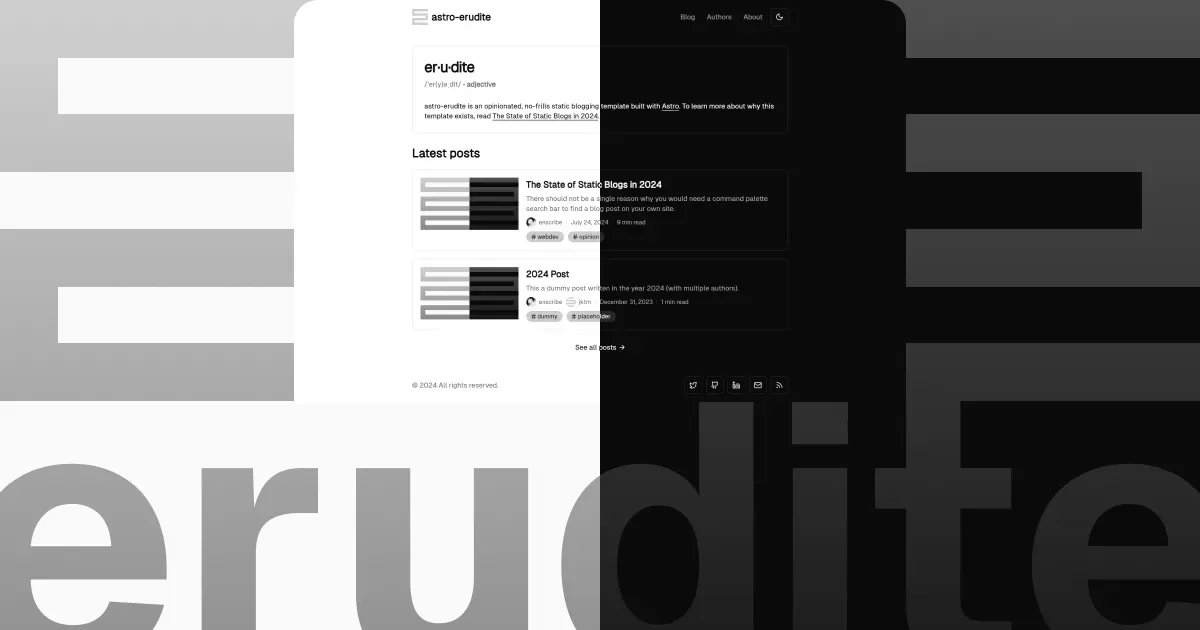
Settling with that same template though would be boring, plus it was (subjectively, in my whole opinion) “bloated” with overly complicated features for a starter’s blog such as CMS and comment sections. As I sifted through the community examples and derivations, one blog caught my attention: enscribe.dev. The blog is based on a template made by the creator enscribe himself too, and that is what I adopted for my site. THE template is astro-erudite.

There are so many great things about astro-erudite, which you can learn more about by reading this post here from the original creator about what constitutes a great blogging template. I particularly adore it for these 3 points:
-
Astro’s markdown rendering in tandem with MDX for component-style content. In simpler terms, I can draft in the familiar markdown format while occasionally embedding JavaScript components like videos or charts to leverage reader experience. All of which will be seamlessly compiled into suitable components for web display. This functionality is a huge plus in my book, as I have been journaling and taking learning notes in markdown since forever.
-
Minimalistic color theme out of the box, with painless theme management via CSS variables. I love my light mode in plain white—best for outdoor visibility, and dark mode in plain black—beautiful on OLED screens and easy on your eyes before bedtime.
-
The removal of forementioned complicated features for an uncomplicated blog. The day this blog grows to dozens of authors and zillions of regular visitors isn’t coming anytime soon. It’s unlikely that I need site analytics, and even more unlikely for comments section or a CMS.
In short, save yourself some time and sanity by picking a template/design that resonates with you and suits your needs. Some helpful resources you might want to check out:
- Reddit for the experienced ones’ advices, especially r/webdev and r/webhosting.
- Vercel’s Find your Template or any similar site to get inspired and find something you want to work with.
- GitHub to find other users’ derivations more suitable for your needs, once you got the gist of what you want to achieve.
Adding my touch of personality
There are tons of things you can do with these baseline sites. For minor tweaks, you can adjust the website’s metadata and add more blog posts while keeping the site structure as-is. For more significant changes, you might want to introduce new page routes or modify the overall interface. If you know me well, guess I had to take none other than the tough path!
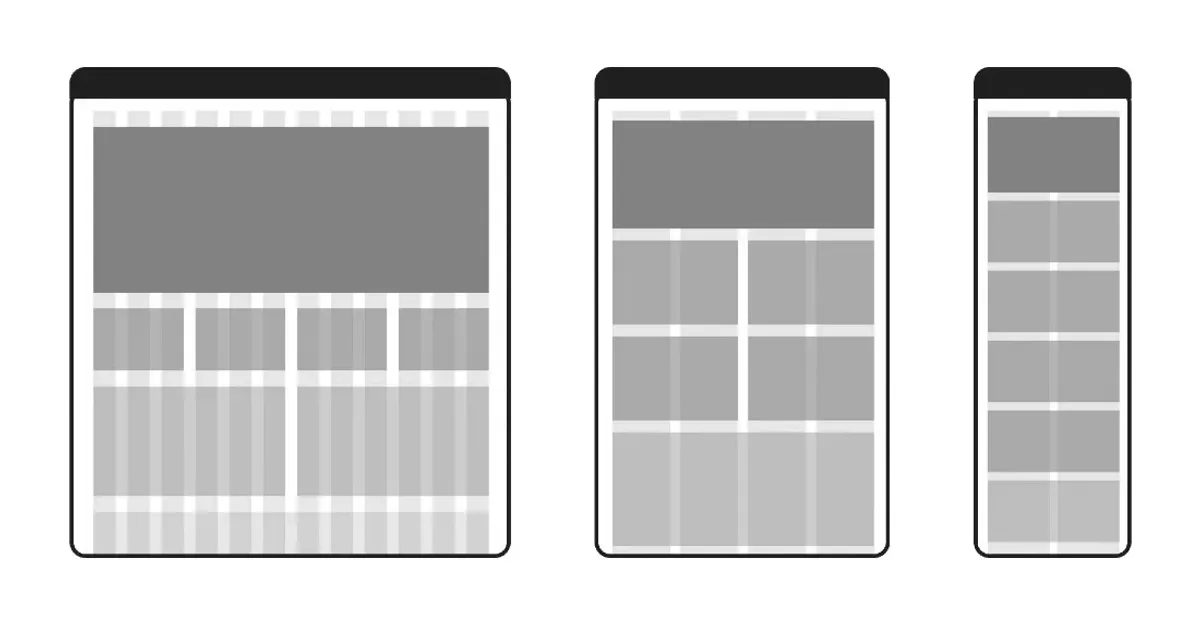
Among the various aesthetic choices across this site, the one I’m most proud of (and took the longest time to make) is the bento-style homepage a.k.a. bento grid, responsive grid layout, or whatever combination of words you may heard or called it.

My fascination for this layout was probably fueled by many courses and demos on responsive web design. For a long period (and maybe to this day still), responsive grid layout was the standard for any framework wanting to be “modern” and “user-oriented”. My implementation was heavily inspired by enscribe’s grid (thank you again my Lord and Savior), adding various touches here and there to showcase things I love and want to share around such as statistics and music.
The whole process of picking a template and personalizing it would have only taken me a few days of leisure works at best if it hadn’t been for my attempt to replicate enscribe’s client interactivity i.e. the hovering dialogues type shii, but with editable text components instead of overlaying images. The overriding order of properties was ever so confusing to figure out and the components alignment was kinda sketchy. But hey if it works, it works ;)
Best resources for this decorating and refining stage:
- Others’ blogs for inspiration.
- Your chosen frameworks’ documentations. Frequently. This stage involves lots of debugging and testing.
About AI coding assistant
I will have my take on AI coding assistant in a standalone post in the future. This section will only discuss my usage of AI in making this blog, and it will be a rant (sigh).
I made the blog with VSCode and GitHub Copilot. I used almost zero AI assistance in the process, not because I chose not to and was proud about it, but because the assistances I was given were pretty much unusable. Some of my observations after trying to utilize AI in this project are:
- The assistant isn’t good with frontend development. I guess it’s only natural since it cannot see the visual changes, while there are so many ways to achieve the desired look—some are more efficient and some are more destructive in the way that it affects other parts of the code. And one thing after another, the code doesn’t work and the fix doesn’t work and the entire project collapses.
- The assistant very often fails to write efficient and reusable codes. There were countless times when even after attaching the working file and the utilities file to the prompt, the assistant downright decided to reinvent a lengthy function, no using existing functions in utils file or putting the function to where it belonged, no nothing.
- The assistant isn’t good at working with existing codebase. This is kind of a re-emphasis on the above 2 points, since the assistant only tries to cater to the user’s instant needs and thus fails to factor in the codebase creator’s intents.
Note that I didn’t use Cursor or use complex prompt structures, just basic chat with popular prompting techniques like Chain-of-Thought, so your mileage may vary. And it was not all things negative though, the assistant (especially the recent one from Anthropic) excelled in creating new pages or components adhering to a context standard, and in breaking down the codes for ease of understanding. My advice is, you can chat and consult with the assistant for however long you want, but when there’s a need for edit or refactor or debug, it’s your time to step in directly.
Conclusion
And with that, a new blog is up and running! I obviously know that just “running” and “performing well” are miles apart. There are also deployment and hosting and SEO, but that’s for another guide/journal in the future. It’s hard to make a detailed one-size-fits-all guide with the vast range of tools and templates we have but I hope this story could at least inspire and lead you down the right path!
